About the restoration process
Cleaning
Cleaning photographs is a difficult process, depending on their condition. If a photograph has been well protected from fading, bugs, and mildew, generally it is as simple as gently brushing away the dust with a soft cloth (I use a cloth meant to clean eye glasses – doesn’t cause scratches). However, if a photograph, or slide, is a little worse for wear – torn, moldy, it is no longer as simple as wiping it clean. If it’s moldy – very small, controlled amounts of isopropyl alcohol may help. Never clean a torn photograph with any liquid – as it will eat into the exposed paper beneath and worsen everything. Torn photographs are best left alone – wipe whatever dust you can away and scan what remains.
PROTECTING PHYSICAL PHOTOGRAPHS
Below are a few tips for protecting your physical photographs before converting them into digital files:
- Avoid storing your photos in damp places or subject to fluctuations in temperature, such as basements and attics. Always keep your pictures in a cool, dry, and dark place, such as a bedroom closet. Mold and mildew love basements – plus a flood, even a small one means certain death for photos.
- Avoid storing your photos where they will be exposed to light, both natural or artificial – best defense against fading!
- Avoid storing photos in places where they will be exposed to gases such as nitrogen oxide and sulfur dioxide – for instance your garage. Never store photos in the garage – they are perfect mouse bed material.
- Do not save photos in “sticky” photo albums. Over time, photos tend to bond to the page AND the protective clear plastic sheet making it almost impossible to remove your pictures from the album without having to pick and choose which images to save (and which to cut through in order to save those).
- Store photos in “archival” quality plastic sleeves (use only PVC-free plastics such as mylar, polyester, and polypropylene).
- Many suggest checking your photos every year for mildew, bugs, and fading (to keep out bugs keep them in a plastic container rather than cardboard).
- While these steps will help, pictures will inevitably fade away, therefore the safest, long-term solution is to copy all your slides, negatives and photographs into digital files.

An example of bad yellowing due to being left in a cardboard box in a flood prone basement.
Colour/Contrast
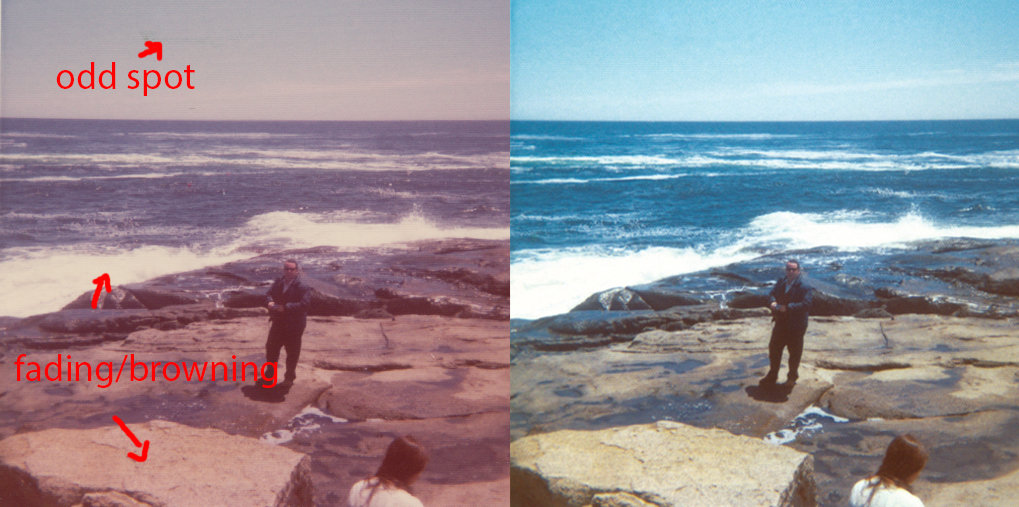
Photographs, slides, and negatives are made by using chemicals and chemical dyes that are sensitive to light, moisture, and changes in temperature. Over time chemicals degrade and the image starts to fade – usually tinting yellow, and sometime developing cracks – as seen in frequently in old Polaroid photos. There are several ways to delay fading, however fading is inherently inevitable and the only way to permanently preserve a photograph is to convert it to a digital file.
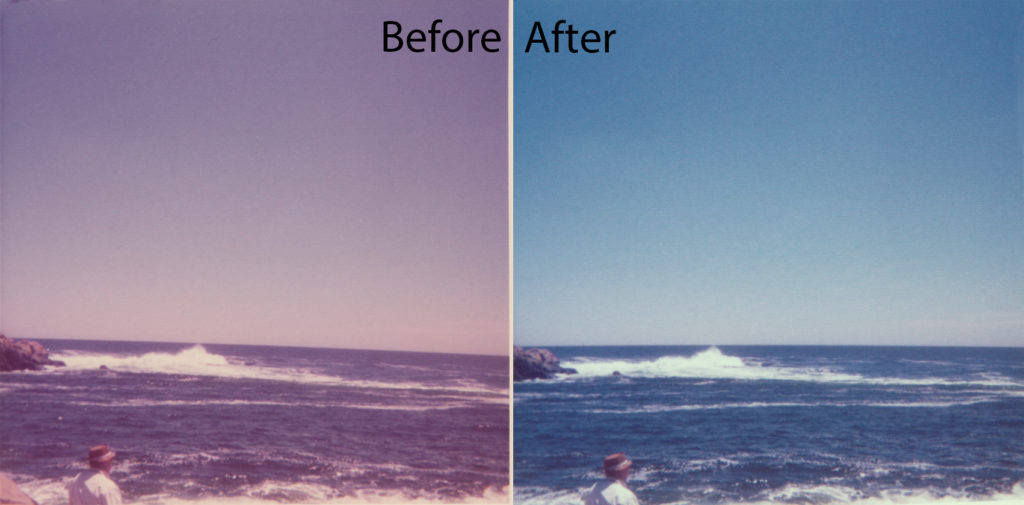
An example of simple color balancing to combat fading.
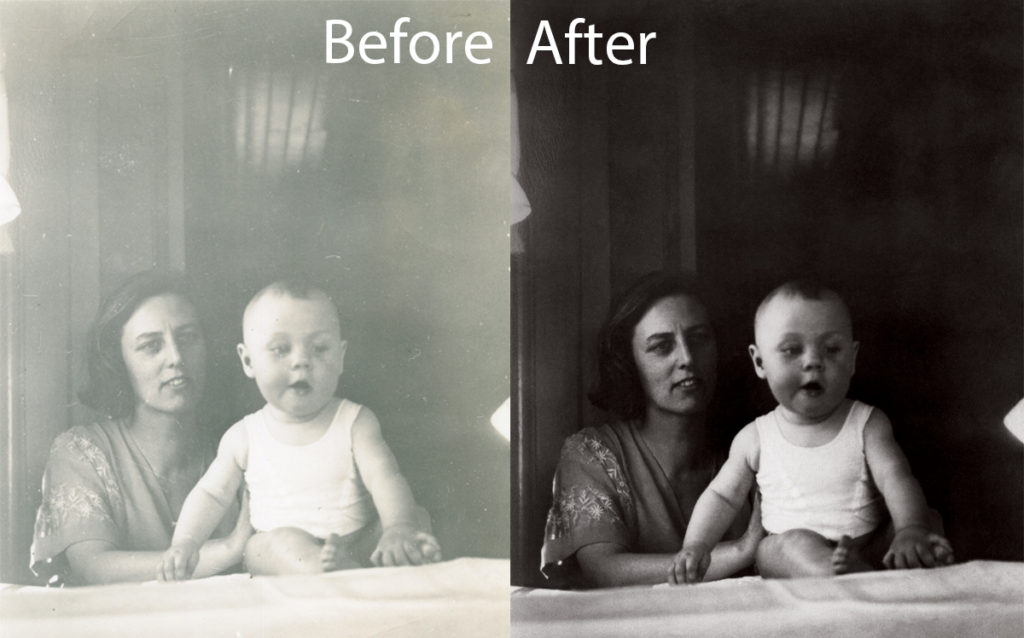
An example of simple contrast building to bring back faded detail (and a little scratch removal as well).
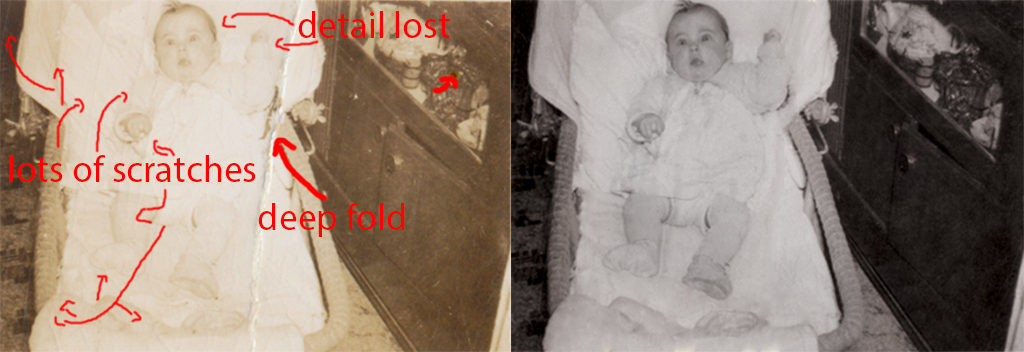
Scratches
Dealing with scratches depends mostly on where they are. If they are in the background – like trees – or in the case of my example – afflicting the curtain – it takes a bit of effort to ‘erase’ them. However, if they are across a face – especially in a small stature (or further away from the camera) it becomes difficult. It may even lead to erasing facial detail and carefully painting/drawing them back in by hand.
An example of difficult and unfortunate scratching – but not a lost cause!
Tears/Major Repair
Worst case scenario are tears and mold. As always it depends on the photo. A torn photo can be digitally repaired depending on the condition of what can be or was salvaged. Mold – in some cases – can be cleaned off without damaging the image underneath. However, not all damage can be repaired.
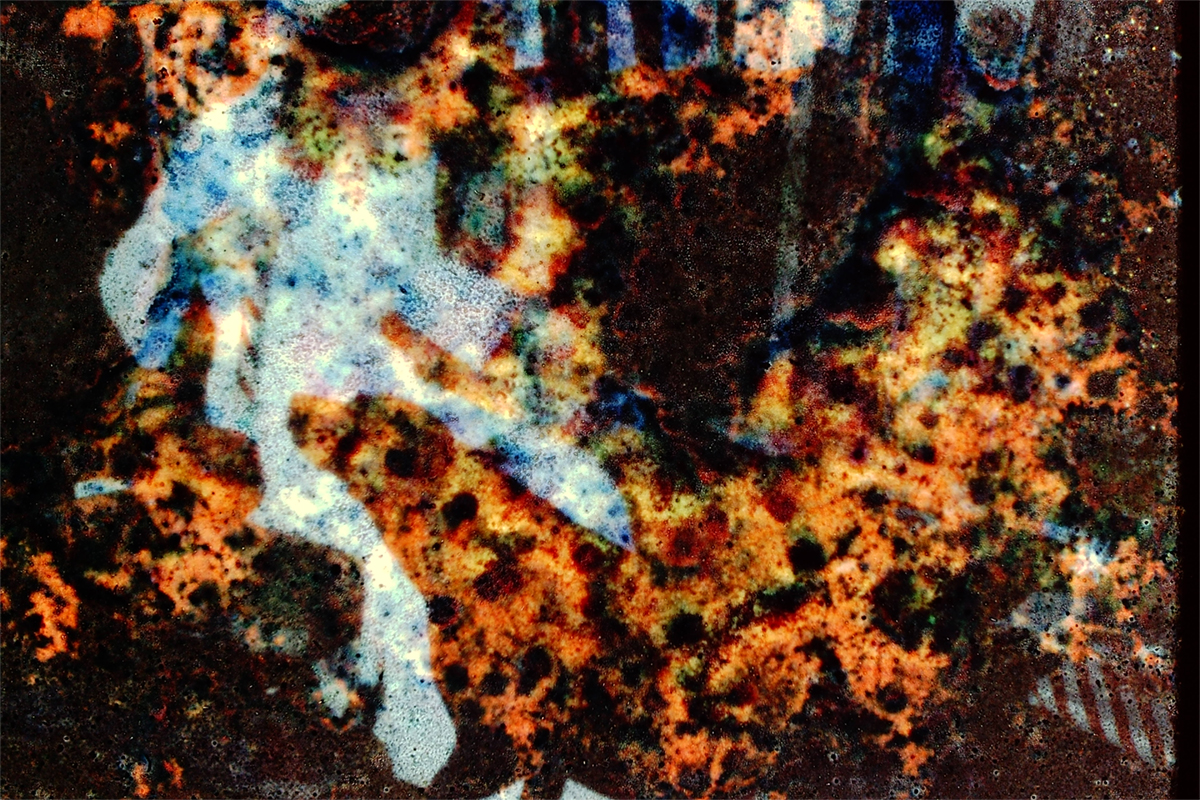
A possible lost cause – a very molded 35mm slide. I believe it is of my grandma, during a Christmas, with one of their black labs – probably Justine.
Pricing:
Based on Level of Restoration Required
Each photograph can vary greatly. It could be a few years old and just a little scratched, or it could be fifty or more years old, torn up, and nearly faded away.
I charge $20/hour for my restoration services. Restoration takes hours of time to apply the proper fixes to get the best result. I found in my research that most larger companies only work based on quotes – they don’t have any means to give a customer an idea of what it may cost, or the time involved until the photos are sent. My solution is to create three tiers based on how I categorize a photograph – what the photo may require (color correction, tearing, etc.), and how much time it would take me to restore it.
The example images below the pricing chart are to be used for ballpark estimation only, please.
Please contact me to arrange a quote.
Email: howell.photorestoration@gmail.com
Simple Fix Examples
Below are examples - a before and after comparison - detailing the issues and then the final result.
Simple fixes generally don’t take quite as long. Usually it is light color correction, cosmetic issues (red eye, blemishes, etc.), or light scratches. Generally most of the images I place in this category take little time to correct – usually less than one hour.
These example images are to be used for ballpark estimation only, please.
Please contact me to arrange a quote.
Email: howell.photorestoration@gmail.com
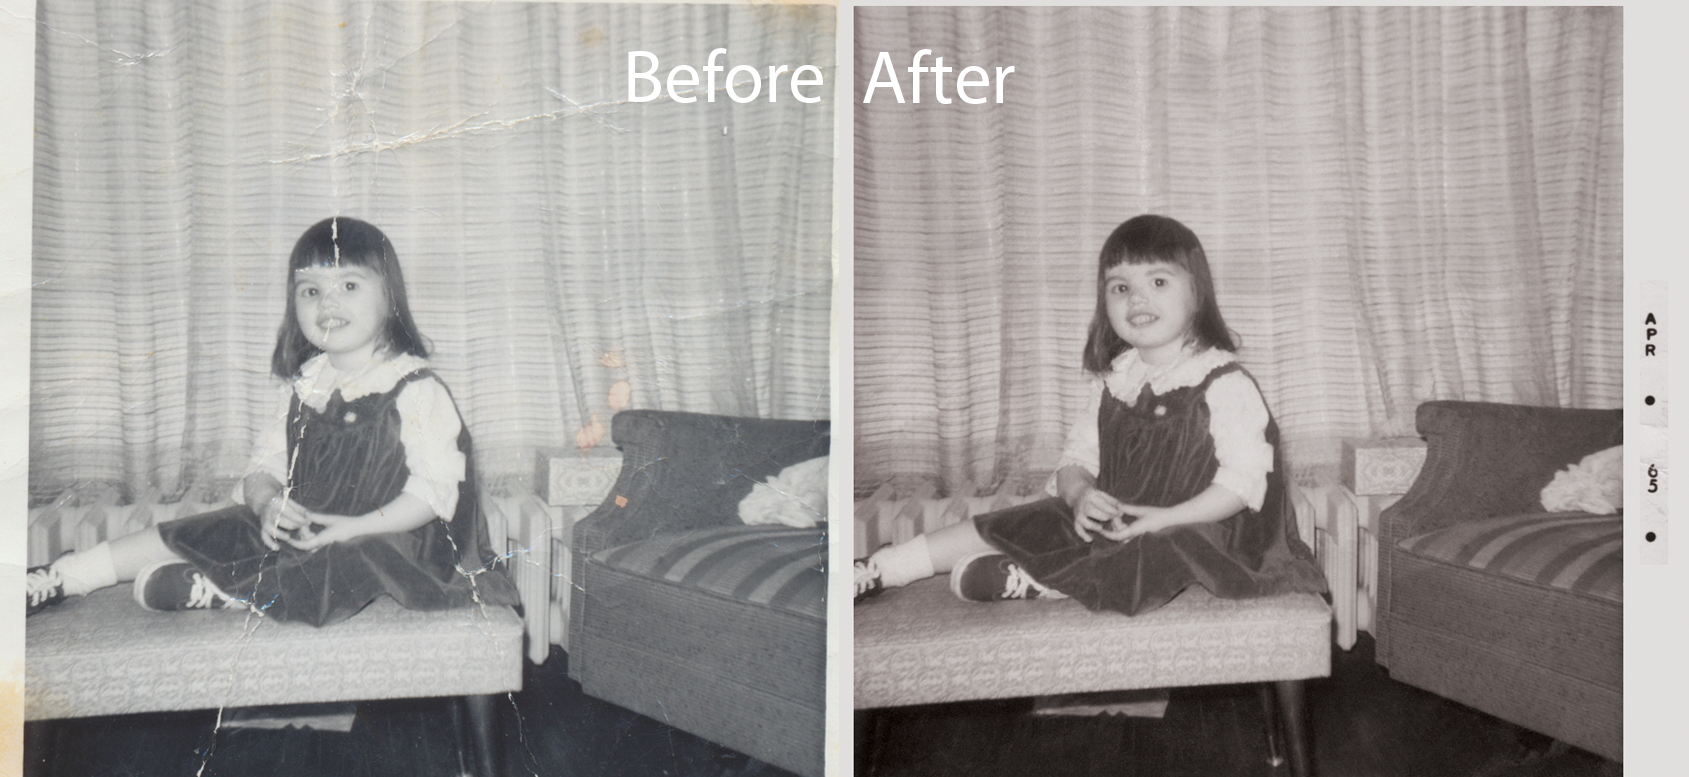
Moderate Fix Examples
Below are examples - a before and after comparison - detailing the issues and then the final result.
Moderate fixes are the middle ground – most photographs fit into this category. Usually they involve color correction, scratching, folds, removing unwanted elements such as t-shirt logos or background items (like people, pets, etc). Generally most of the images I place in this category take between two and six hours to correct.
These example images are to be used for ballpark estimation only, please.
Please contact me to arrange a quote.
Email: howell.photorestoration@gmail.com


Advanced Fix Examples
Below are examples - a before and after comparison - detailing the issues and then the final result.
Advanced fixes are the most difficult. Usually they involve trying to save what it possible – very faded, torn, near impossible to fully fix. It may also involve trying to regain detail by artistically reclaiming details (either drawing in digitally by hand, or using another photograph as reference). These photographs can take upwards of six hours.
These example images are to be used for ballpark estimation only, please.
Please contact me to arrange a quote.
Email: howell.photorestoration@gmail.com